The journey to a new roof begins with the careful removal of the old one. Utilizing advanced equipment, such as the Equipter RB 4000, ensures that the removal process is clean and efficient, safeguarding your home’s gutters, landscaping, and overall structure. During this phase, the integrity of the roof decking and wall flashing is meticulously inspected to lay a solid foundation for the new installation.
The next step involves the installation of a high-quality ice and water shield around all eaves and valleys of the roof. This critical layer serves as a barrier against ice damming, a common issue in colder climates. The rest of the roofing deck is then covered with a synthetic premium felt, providing an additional layer of protection and enhancing the longevity of your roof.
To further ensure the durability of your roof, new aluminum drip edges are installed along all roof perimeters. This addition helps direct water into the gutter system and protects the edges of your roof from water infiltration, a key step in maintaining the structural integrity of your home.
Before the main shingles are laid, starter shingles are applied at the roof’s eaves. This initial layer covers the joints of the first row of main shingles, providing a tight seal against wind uplift and water penetration, and setting the stage for the primary roofing material.
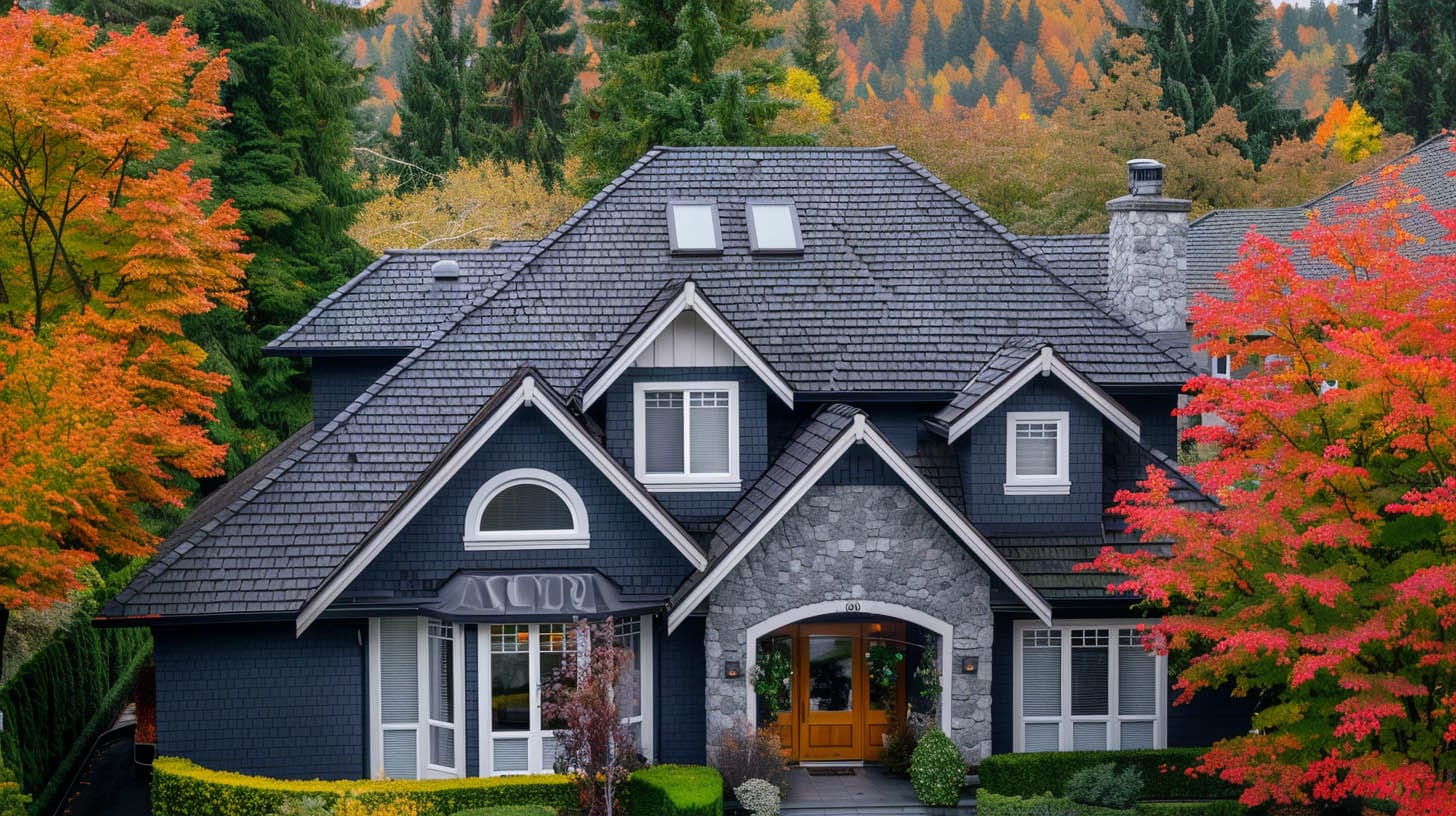
With the preparatory work complete, the main roof shingles are installed according to the manufacturer’s guidelines. This precision ensures a roof that not only looks great but is built to withstand decades of exposure to the elements, offering unparalleled protection for your home.
Adequate ventilation is crucial for the longevity of your roof. After the shingles are in place, high-quality ridge vents are installed to allow your home to breathe. This system works in conjunction with intake soffits to ensure a well-ventilated roof, reducing the risk of moisture buildup and extending the life of your roof.
The installation process nears completion with the application of shingle caps along all roof peaks and hips. These caps provide a watertight finish, ensuring that every part of your roof is sealed against potential leaks, offering you peace of mind regardless of the weather.
The final step in the process is a thorough cleanup and inspection of the newly installed roof. High-powered magnets are used to collect any stray nails, ensuring your property is left in pristine condition. A final inspection confirms the quality of the installation, leaving you with a durable and aesthetically pleasing roof.
Teflon Roofing, located in Chambersburg PA, is dedicated to providing homeowners with a seamless and worry-free roofing experience. From the initial removal of your old roof to the final inspection of your new installation, every step is executed with precision and care, ensuring the highest quality outcome for your home.
372 Grant St,
Chambersburg, PA 17201
Open: 24/7
Contact Us Today
Copyright © Teflon Roofing